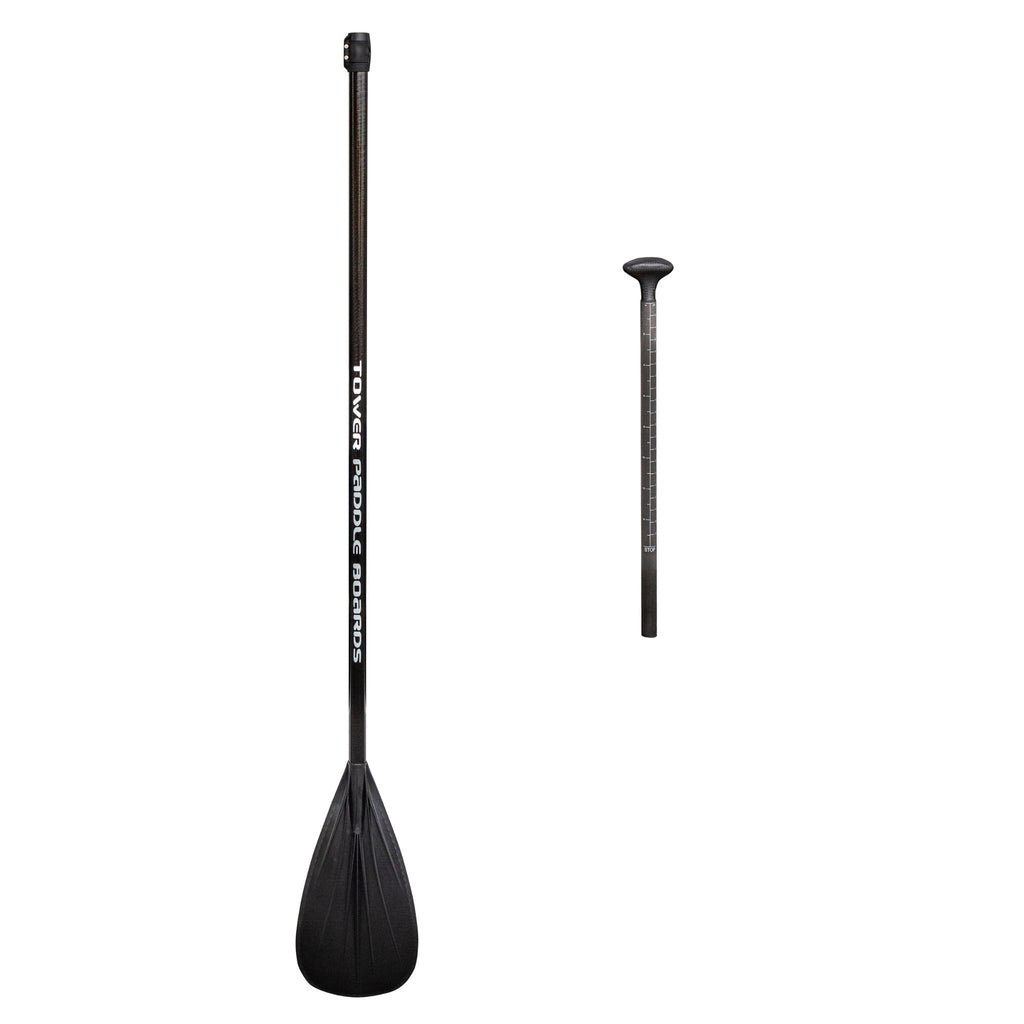
How do I epoxy my SUP handle?
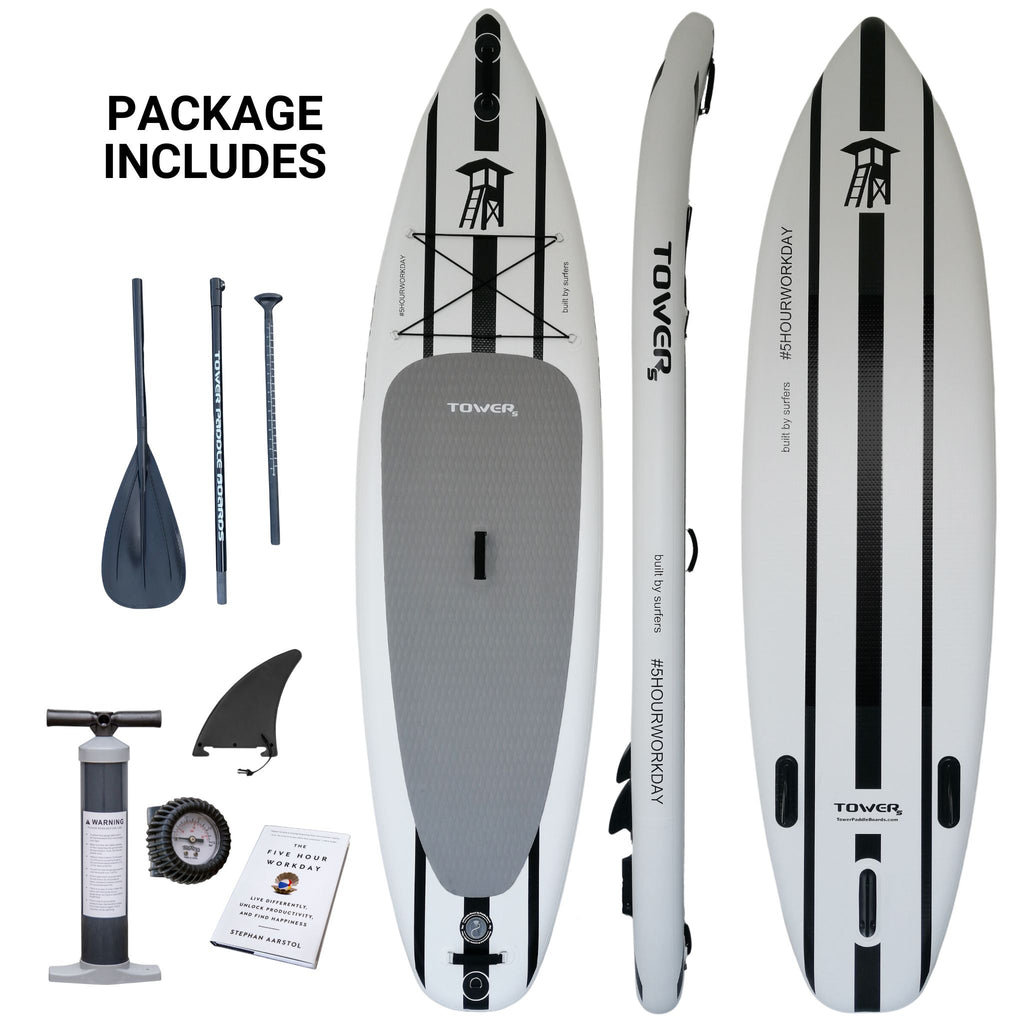
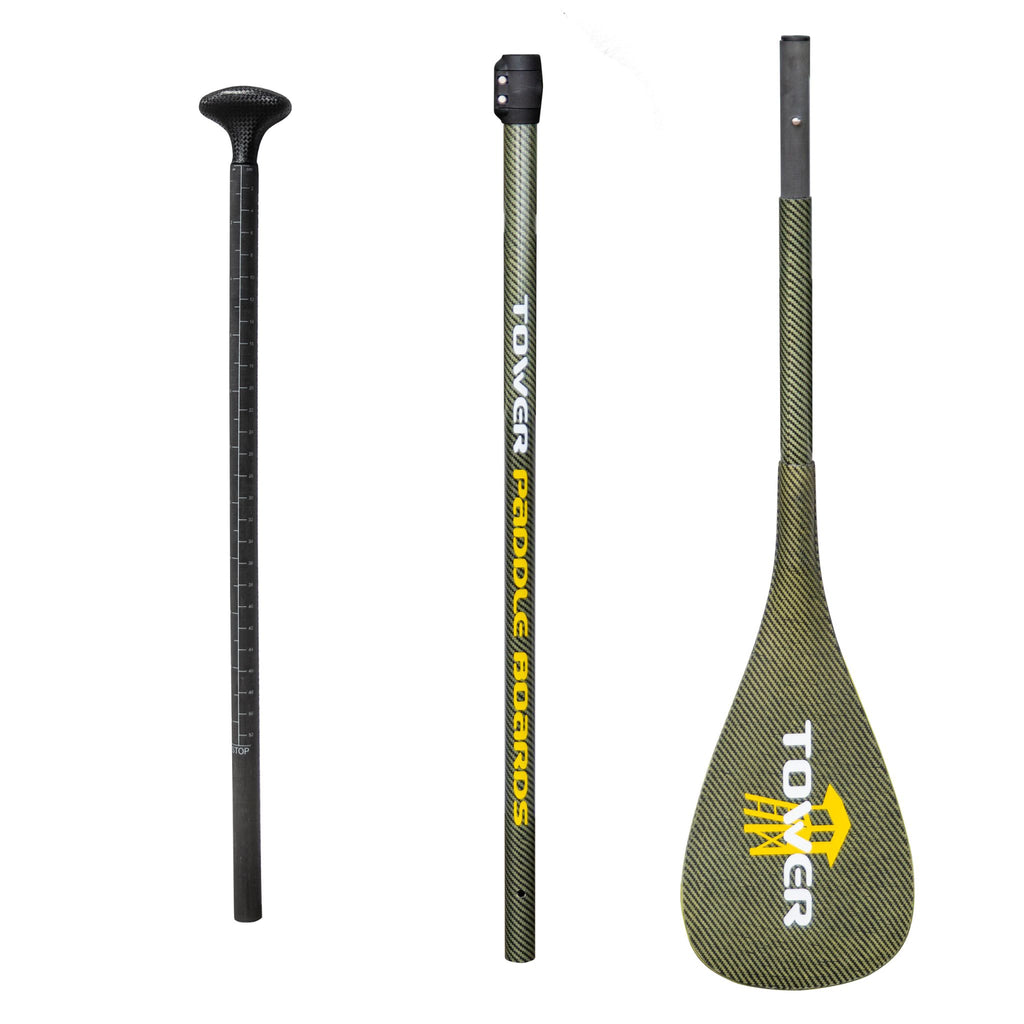
At Tower, we have the best SUP paddle for your paddle board. We offer 3 different types of SUP paddles. Each SUP paddle is compatible with our inflatable paddle boards and wooden SUPs. It is very rare that you will have to fix your SUP handle, but if you do the following is directions for you. Once you've cut the shaft of your paddle, it's time to epoxy in the handle. You'll need a few things before you get started: some sand paper, 2-part epoxy, a latex surgical glove, and some paper towels. This stuff will drip a bit when you apply it so have something throwaway to drip onto underneath you.
When most people hear, "Two-part epoxy," they think they probably can't do this themselves. The reality is that it's a very simple procedure. You can buy two-part epoxy at any hardware store. The 5-minute dry variety is the easiest to work with for this type of thing. It looks like a big syringe with two chambers. You cut the end and squeeze the plunger and the sides mix as they are shoved out the end.
Make sure to sand the inside of the shaft of the paddle and the outside of the plug on the handle. This will ensure they bond better. Also, sand off any loose parts on the cut you just did.
Before starting in with the epoxy, check to see if your paddle has a heat-shrink collar. If so, ensure that's down on the shaft of the paddle when you put on the handle - you can't get it on once you put the handle on and it's set with epoxy. Using a latex surgical glove makes the application of the epoxy onto the inside of the shaft and the outside of the plug on the handle easy. Just use your glove fingers. Squeeze it onto a piece of cardboard or something and mix it about a little more with a stick or something. Smear it evenly, but not excessively, inside the shaft and on the handle plug. Insert the plug and twist it into position. Ideally the handle should be perfectly perpendicular to the blade and oriented so that it makes sense if it's an asymmetrical handle. Hold it together with pressure while it dries for five minutes. You should wipe away any excess epoxy with a paper tower before it's dry. Once it's dry, slide the heat-shrink collar over the new joint and hit it with a heat gun or a blow dryer and the collar will shrink to create a perfect joint.