How do I install the SUP vent plug?
All of our new paddle boards for sale come with a pre-installed vent plug. You will not need to install the vent plug before using your stand up paddle board. The vent plug is used to allow air to escape the board when high levels of heat may cause the board to delaminate otherwise.
The following steps are in regard to our older model boards (before 2016) that did not come with a pre-installed vent plug.
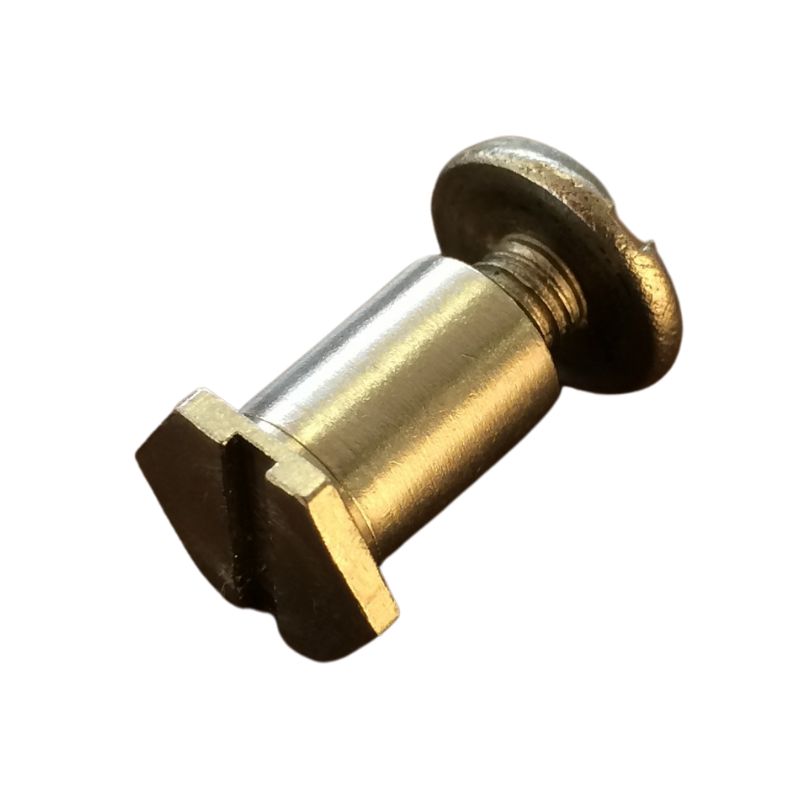
In the plastic orange fin package that comes with our older model boards, there will be a big bolt with a tubular rubber washer on it. There will also be a large hex wrench. This bolt is your "vent plug". It goes in the round vent plug hole on the bottom of your board right in front of your center fin box.
NOTE: The vent plug hole in the bottom of your board right in front of your center fin box is a hole in your board. Do not go in the water until you screw in the vent plug or you risk getting water in your board. This screw needs to be in the board whenever it is in the water. This is basically a safety valve against pressure changes and only needs to be removed when the atmospheric pressure of your board's environment changes dramatically (putting it on a plane, driving it up elevation to a mountain, extreme cold or hot storage, etc.).
To insert the vent plug bolt in your vent plug hole, put the hex wrench in it and apply pressure as you screw it in. The first time you insert it, you will be cutting the threads into the plastic vent plug hole, so it takes a little force. Using the included hex wrench, this shouldn't be that hard. Screw the vent plug bolt down until it's snug. The screw head won't necessarily tighten down flush to the board. Sometimes it sticks out up to a quarter of an inch. Just tighten it down snug so the rubber washer seals it off waterproof. Don't go crazy or you risk stripping out the plastic threads.